10 minutes to Mame

Getting started

This introduction is focused on new users. You find more detailed guides in the documentation.

Basic Structure and Terminology

With Mame you generate ultra-fast and W3C compliant websites. A site in Mame defines the common properties for all pages. Including website colors, default meta-tags, favorite icons and other common global settings.

On the next tier there are pages, a website may have multiple pages. For example a start page, a contact page, a team page and many more. You can also create SPA's (Single Page Applications) with Mame. In the page you can override global site settings, add an alias (URL and filename for the page), set meta-tags and many other page specific settings.

A page's content is made up of sections (highlighted blue). A section holds the content in form of elements. This text for example is an element (Formatted Text Element). In a section you configure properties, like backgrounds, visibility, container sizes and various other styling properties that apply to all elements. You can share and reuse sections across multiple pages. This is especially useful for menus, footers and other content that is the same on multiple pages.

An element (highlighted green) in Mame is the smallest part in Mame. There are over 40 different elements at the moment, with more being added every month. From a simple formatted text, like this one, over images and icons to more complex ones, like MapsCountdowns or Forms.
Mame Site Structure Wireframe
Mame Dashboard

Creating a new Site

Once you created your Mame account and logged into the builder, you find yourself on the Mame Dashboard. On the dashboard you see your stats, manage your different websites and switch between them. As you haven't created any sites yet, your dashboard is quite empty. 

Start by clicking on "New Site" to open the site creation wizard. In this guide we are going to start from scratch and choose "Empty Site". This is a empty starter with just two pages, an empty homepage and a simple 404 error page (Page not Found).

Configuring your Website

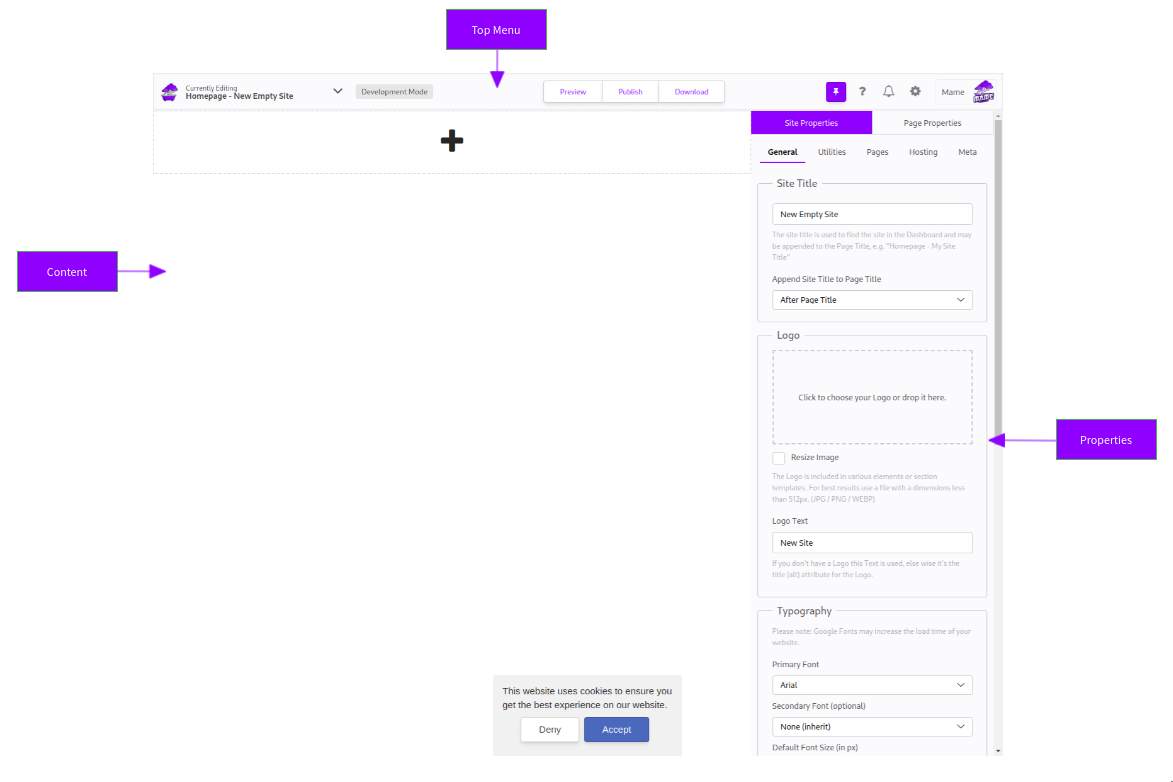
After choosing "Empty Site" you are redirected to the Builder View with the Homepage open. In this view you edit your website. From site settings, over pages, down to sections and elements.

As we have chosen an empty starter, your Homepage currently does not have any content. But before adding content we configure the site first.

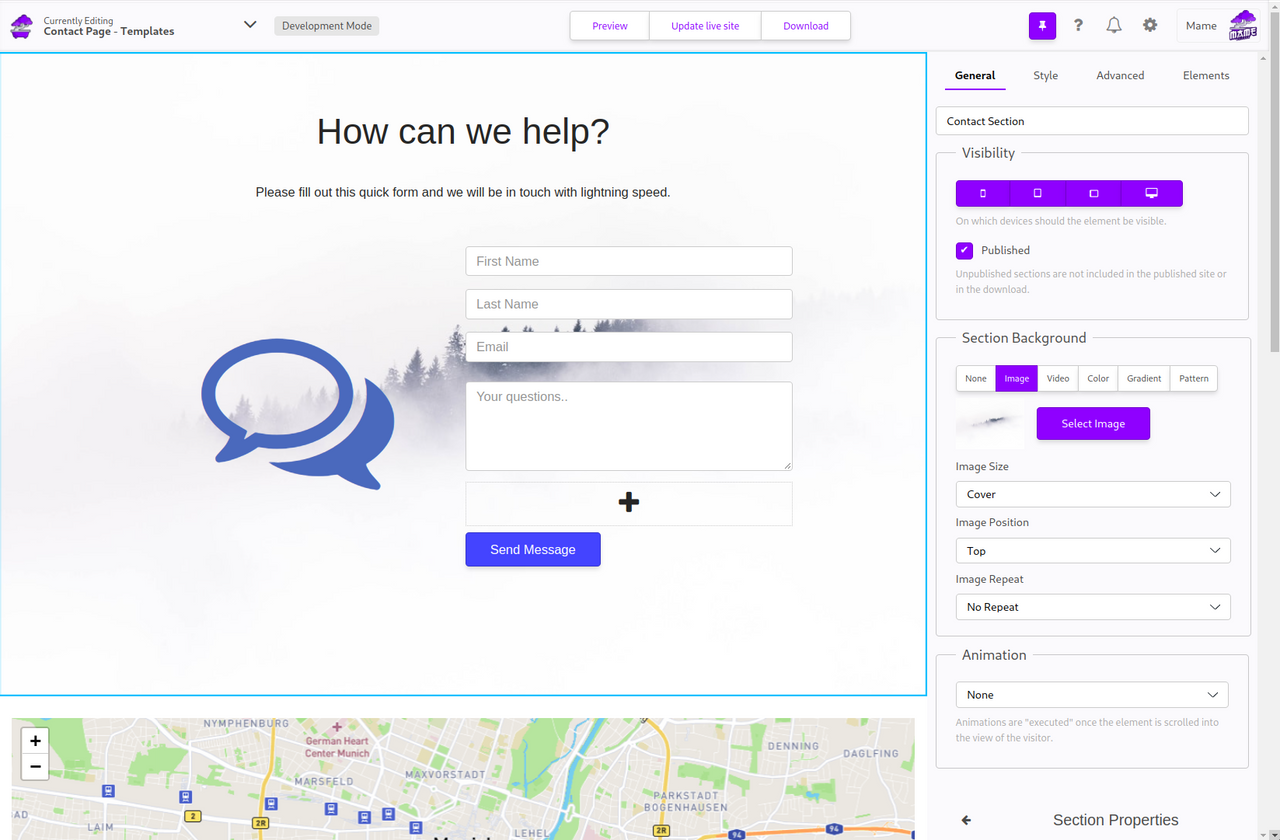
On the right side (You can change the position in the settings) you find the properties of the currently open element. As you currently haven't selected any elements you find the site and page properties on it.

First you want to configure the global Site Title. If not chosen differently it's attached to the Page title. It's not only an identifier for the dashboard, but also important for building nice page titles. For example the site title of this website is "Mame Builder", this is attached to the Page Title "Getting Started". You can see any changes you make directly on the browser tab or window, once you leave (blur) the input field.

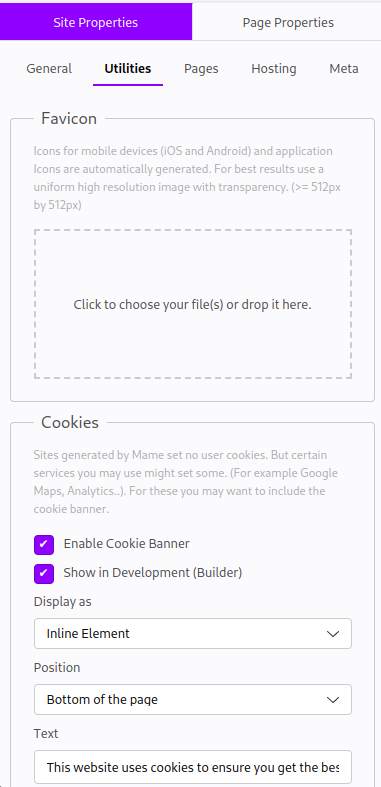
In the next step we want to configure our Logo, by uploading it to Mame. if you don't have one you want to at least configure a Logo Text. The Logo is used by multiple templates. Most properties in Mame use help texts and tooltips describing how they work.

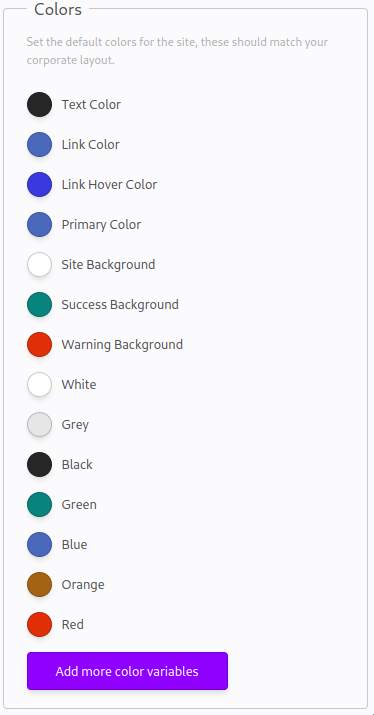
Next you may want to configure the Typography, like setting a different primary font. Google Fonts increase the size of your website, but can improve the design. Make sure to use them sparsely. The secondary font is applied mostly to headings and other content where it fits. You can also configure the default font size, font weight and line height. If needed most of these settings can be overwritten per page or even per section and element. But these default settings allow you to keep a consistent look & feel through the whole website.
Mame Builder

Site Colors

With these properties you define your color scheme. Form the default text color, over link colors and backgrounds to for example buttons. These colors are used in all pages, sections and elements as default colors.

For example for this website the colors are set up like the following:

You can also add your own color variables and use them throughout the entire website. Technically colors are set up as CSS Variable (--primary: #8f00ff). You can access them manually by using .style { color: var(--primary); }. As long as you use the website builder you don't need to worry about this though.
Site Colors
Site Colors

Utilities

In the Utility section you set up the favicon and Cookie Banner. The favicon is used on the browser bar, next to the page title. Additionally it's also used as APP icon when visitors create a bookmark or app shortcut on their mobile device.

Mame automatically generates the fitting images and icons for Android, iOS and Windows. It also generates a manifest.json based on your color and site settings. Make sure your FavIcon also works for very small sizes, like on the browser bar. 

Mame Builder

Cookie Banner

Depending on the country and region you are in, you may be required to display a cookie consent banner. Sites generated with Mame don't add Cookies itself, but certain elements, like YouTube, Maps may set one.

As the cookie banner can be quite annoying when you create your site, you may want to hide it in the builder after you set it up.

Meta Data

Meta Data is used for search engines and browsers rendering the page. First set up your sites language, with the matching language shortcut. If you site's language is English you don't need to change anything.

Next add a global meta description. Meta Descriptions are used by search engines, like Google, to display the page's summary. You can and may want to overwrite all Meta Data per page. Meta Keywords are less important nowadays, but are used to communicate the page topics to search engines. Separate them with a comma.

If your site is shared on Facebook, Twitter or other social media services, the social tags come into play. For example with Open Graph you can define how Facebook embeds your website.

Customization

Advanced users may want to add custom CSS and JavaScript to the page. Be careful though as this may break the website or even the builder.
Meta Settings

Adding a new Section

After configuring your site properties (you only have to do this once per website), it's finally time to add some content to your Homepage.

Click on the plus sign in the content to add a new Section.
Add Section
This opens the "Add Section" dialog. On the top you find four tabs for choosing the section template category. In the default category you find some basic section templates for different purposes, from an completely empty section, over a menu, to some forms examples. 

The second tab, contains already existing sections (currently empty). Sections can be shared between different pages, this is extremely useful for content that is the same on most pages. For example Menus, Footers or similar content.

You can also get free or paid section templates from the Mame store. Later you may even want to offer yours there.

The last tab holds your own templates, you can create a template from any section and reuse it between different pages and even websites.

But let's start easy by adding an empty section first from the default category / tab first. Once you click on it a new section without any elements is created. Sections are highlighted with a blue border once you hover over them.
Empty Section
Once you hover over the section with your mouse the section menu is shown on the bottom right side. With it you can add new elements, move it around the page, save it as a template and more. Just hover over the icon to get a description of the section icon button. Alternatively you can also use the context menu (right click on the section).

Add an element to the new Section

Let's add a formatted "Hello world" text for the start. Click either on the empty section text ("this section has no content..") or on the plus icon in the section menu. This opens the "Add Element" Dialog. Like the "Add Section" Dialog it's organized into different categories. The "Basic" tab contains general elements, like formatted textbuttonsmenus or tabs. In the "Media" one you find the selection for elements like IconsImagesvideos or advanced ones like slideshows. The "Actions" tab contains more interactive elements like countdowns or the map. These usual require JavaScript and are sometimes more complex. The last Tab "Form", contains elements for building forms, like input fields, the checkbox and selects.

In the documentation you can find further information and previews on all available elements.


Any other Questions?

Don't hesitate to contact us, we are keen to hear your feedback and opinions!